OceanWP allows you to position a post’s tags in different places in the Customizer’s Single Post section by dragging the Tags Element position. For SEO purposes I usually put it near the end of the post. Google recognizes tags as keywords on a page and for articles where it’s difficult to fit the keyword in the content but still want to include a valuable keyword, tags are a great way to do it.
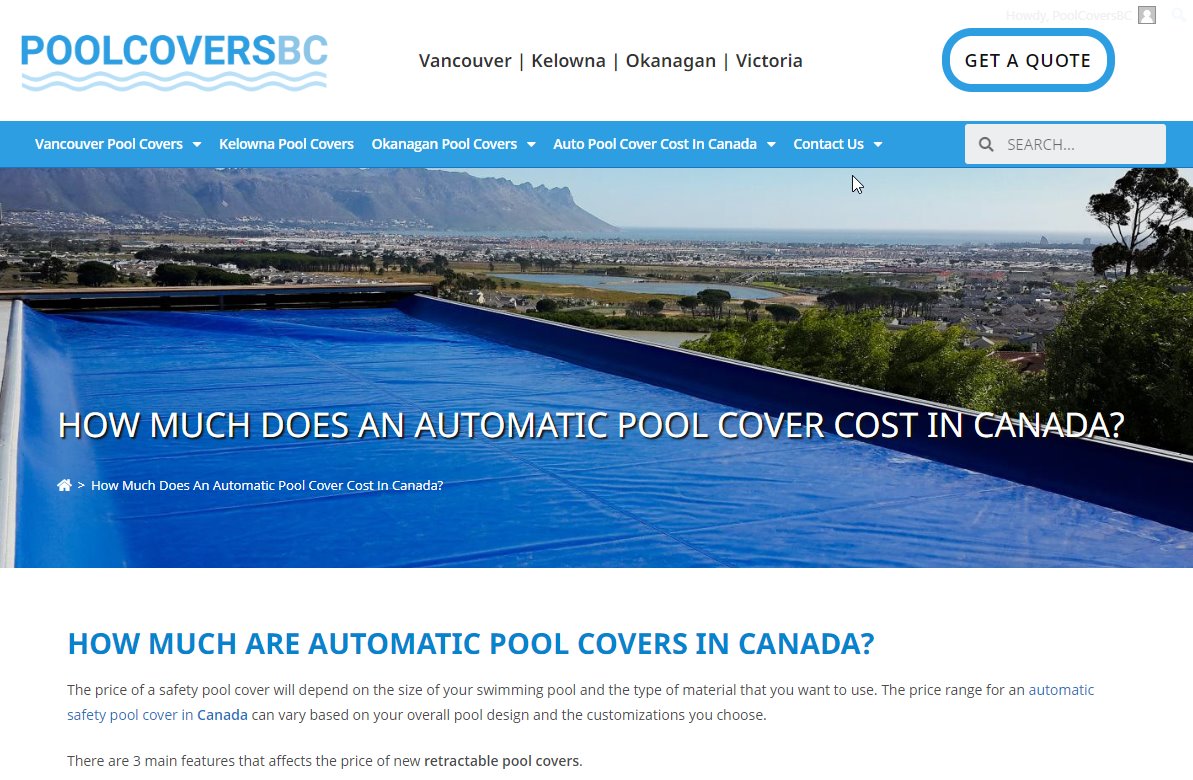
You can see a page using this technique on an automatic pool cover cost page I created. It’s the code at the very bottom of the page with TAGS in caps.
Also, for less competitive keywords tag and category pages can show up in the serps. Make sure there are text excerpts included in these archive pages so Google can recognize there is some content.
Here is a quick step-by-step guide will walk you through the process of installing and configuring OceanWP with a simple WordPress tags plugins and a php code snippet to display tag links on your WordPress pages for SEO.
Step 1: Install the “Pages with Category and Tag” Plugin
- Log in to your WordPress dashboard.
- Go to “Plugins” > “Add New”.
- Search for “Pages with Category and Tag” in the search bar.
- Click “Install Now” and then “Activate” to enable this plugin.
https://wordpress.org/plugins/pages-with-category-and-tag/
This plugin allows you to add categories and tags to your WordPress pages in the same way you do with posts. After activating the plugin, you will see the “Categories” and “Tags” sections in the page editor. This plugin only allows you to add tags and categories to pages. It shares the same tags and categories as posts, it does not separate pages only tags and categories. This is fine for SEO purposes. This plugin also does not display the tags on the front end so that is why you will need to either edit the theme or use the OceanWP plugin using the steps below.
Step 2: Install and Activate the OceanWP Hooks Plugin
You will need a paid OceanWP license to use get access to the OceanWP Hooks plugin.
The OceanWP Hooks plugin allows you to insert custom code snippets into various parts of your theme without modifying the template files. I will give you the code below.
Step 3: Add Tags to Your Pages
- Go to “Pages” in your WordPress dashboard.
- Select a page you want to add tags to, or create a new one.
- In the “Tags” section on the right-hand side, add the tags you want to associate with the page.
- Update or publish the page.
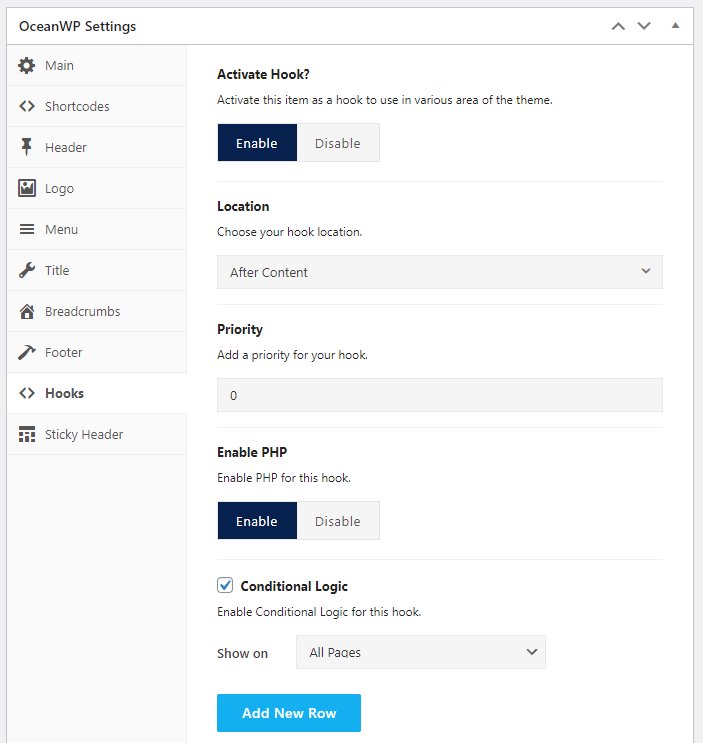
Step 4: Create a New Hook to Display Tags
- Go to OceanWP “Theme Panel” > “My Library” in your WordPress dashboard.
- Click on “Add New” to create a new hook.
- Give it a title like “Display Page Tags”.
- In the content editor, switch to the “Text” or “Code Editor” mode, and paste the following PHP code snippet:
<?php
  // Display page tags
  $tags = get_the_tags();
  if ($tags) {
    $tag_list = array();
    foreach($tags as $tag) {
      $tag_list[] = '<a href="' . get_tag_link($tag->term_id) . '">' . $tag->name . '</a>';
    }
    echo '<div class="page-tags">TAGS: ' . implode(', ', $tag_list) . '</div>';
  }
?>- In the “Hooks” section in OceanWP Settings, choose a Location where you want the tags to be displayed, such as in the screenshot below.
- Set the “Conditional Logic” to determine when the hook should be executed. For example, if you want the tags to appear on all pages, choose “All Pages” in “Show on” dropdown. Multiple rules and exceptions are allowed.
- Click “Publish” to save your new hook.
Step 5: Style the Tags with Custom CSS
You can customized the appearance of the tags with the “page-tags” class. I often find it’s not necessary as it inherits the font and styles of the template. You can add changes like bold or italics here if you wish.
- Go to “Appearance” > “Customize” > “Additional CSS” in your WordPress dashboard.
- Add the following CSS snippet example if you want to style the tags and save the custom CSS.
.page-tags {
  font-size: 14px;
}

.page-tags a {
  text-decoration: none;
  color: #333;
}

.page-tags a:hover {
  color: #0073aa;
}
Step 6: Verify the Tags on Your Pages
- Visit the pages on your WordPress site where you want the tags to appear.
- Check if the tags are displayed inline, separated by a comma, with “TAGS:” in front of them.
By following these steps, you have successfully added tag links to your WordPress pages using the OceanWP Hooks plugin and the “Pages with Category and Tag” plugin. Displaying tags on your pages not only improves the user experience but also benefits your website’s SEO by providing additional keyword content for search engines to index. With these plugins and the provided code snippets, you can easily manage and display tags on your pages without modifying your theme files, making it simple to maintain your customizations during theme updates.