Demo Templates | Headers | Styling & Colors | Layout & Design | OceanWP Widgets | Woocommerce Settings | Misc. OceanWP Settings
OceanWP is robust theme with plenty of options and customizability but it’s settings in the Customizer aren’t always the easiest or most intuitve to find. Occasionally, a bit of custom CSS is needed nudge OceanWP to do what you want. I have been using the theme for several years and created this cheat sheet of notes and CSS examples as a handy reference to help make the changes I want quickly.
Oceanwp Website Demo Themes Tips
First Customizations To A New OceanWP Demo Site
Here are the exact places to edit changes to the default settings immediately after installing a new OceanWP demo Template.
MENU COLORS
Edit Menu colours first when customizing a theme via the WordPress Customizer.
- Header > Logo
- Header > Menu (main colour changes are here)
- Typography > Main Menu
BODY COLOURS & FONT STYLES
- General Options > General Styling
- Typography > Body (OceanWP default font is Open Sans)
- Typography > Main Menu
MENU POSITION
Header > Menu
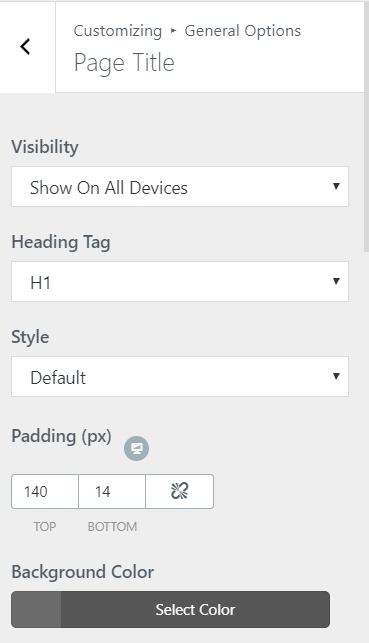
HIDE THE OCEANWP PAGE TITLE ON TOP
Appearance > Customize > General Options > Page Title and set the style to “Hidden”.
Changing OceanWP Demo Theme Home Pages
HOME PAGE SLIDERS
Have you ever downloaded an Oceanwp demo theme and for some reason it doesn’t look exactly like the demo? Next time you’re having trouble you can try editing the shortcode sections on the home page’s OceanWP settings. Make sure the slider shortcodes match the demo’s slider shortcodes or create ones that match your preference.
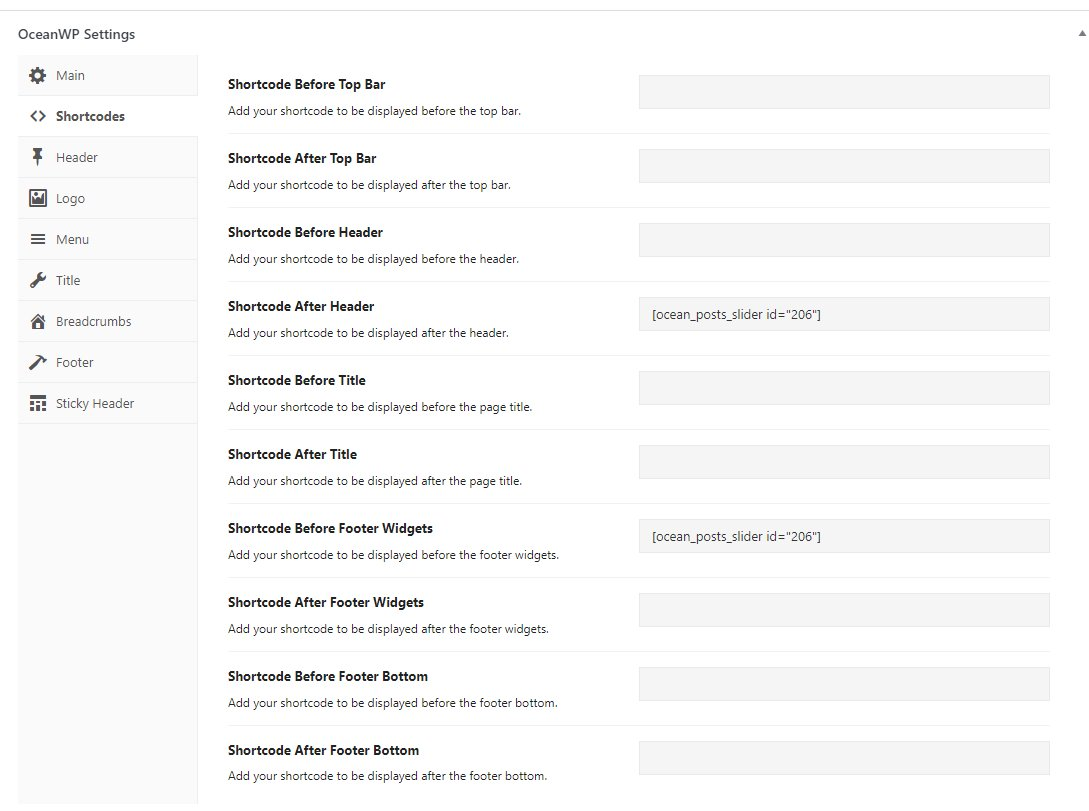
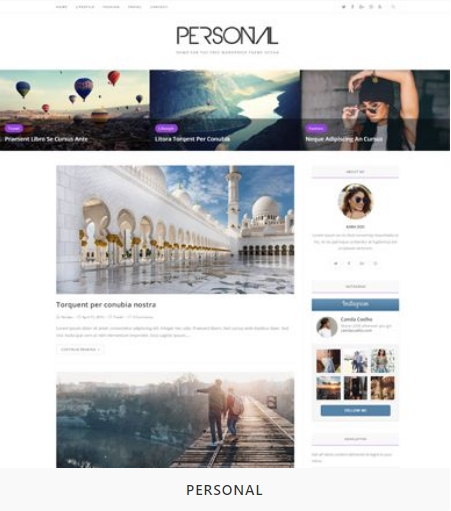
Alternatively, if you want to get rid of the OceanWP home page slider or just temporarily disable the home page slider on certain demo themes like the “Personal” theme template here. Follow these directions.
Ocean WP uses a slider shortcode to embed on the home page. You can find the sliders in the WordPress Dashboard column button called Posts Slider. You will see one called “Home Slider” Just go to the home page and the OceanWP Settings. Click Shortcodes in the left sidebar. Find the shortcode and delete it.
That’s it!
CHANGING THE OCEANWP BLOGGER THEME’S MASONRY SETTINGS
Here’s how you can adjust the home page masonry in the basic blogger theme.

Customizer > Blog > Blog Entries
Change number of columns, masonry to fit column heights and infinite scroll vs pagination and prev/next.
OceanWP Header Quick Tips
Changing the Minimum Logo Size For OceanWP Logo
OceanWP has controls for max logo height and max logo width in the Customizer under Customizing/Header/Logo
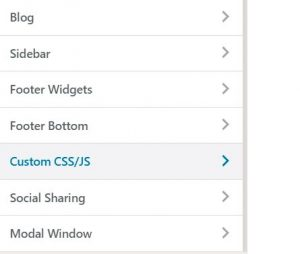
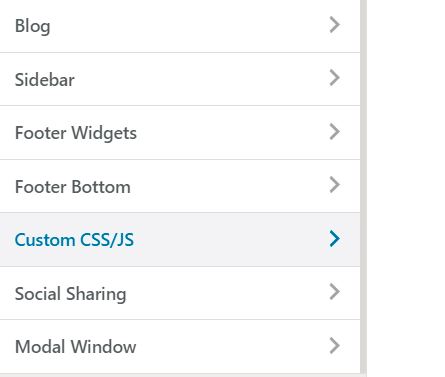
but it has no settings for min logo height or min logo width. OceanWP seems to calculate it’s own calculated settings. Sometimes those settings are too small. To override it use this example bit of css below. Enter the code in the Customizer > Custom CSS/JS
#site-logo #site-logo-inner a img, #site-header.center-header #site-navigation-wrap .middle-site-logo a img {min-width:280px}Changing The Header Menu Z Index In OceanWP
I found an issue as seen here with the Elementor Mega Menus block with OceanWp header menus. The mega menus would appear on top of the OceanWP header menus if the dropdown overlaps a row of Elementor Mega Menus. To fix that use this small bit of custom css to in Customizer > Custom CSS/JS to change the z-index of the header.
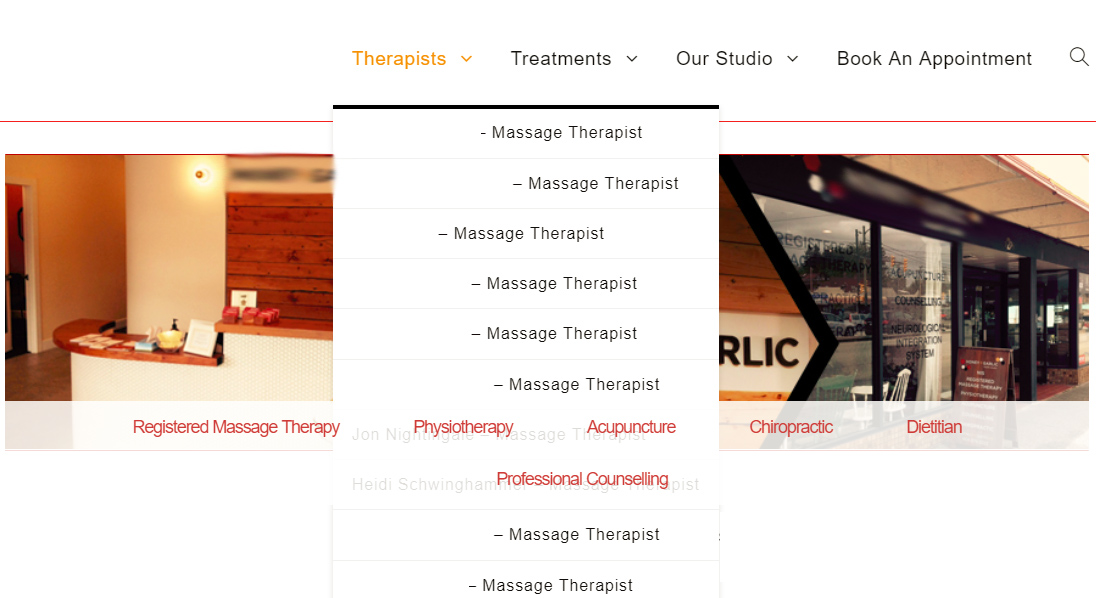
#site-header {
z-index: 1000;
}
How To Change OceanWP Header Background Image
This could fall under the Demo Templates section as well.
With themes like OceanWP’s Lauren theme that have header background images on pages. Here is where you can change the background image.
General Options > Page Title section. The default install image may not always show up in the settings which may be confusing but after you change it it will show up in this section.
Change OceanWP Sub Menu Height in Header
To manually adjust the height of sub menus in the main menu in OceanWP. Put this css in the WordPress Customizer’s Custom CSS/JS section.
.sub-menu li {padding:12px}OceanWP Breadcrumbs, 404 header, Search Results Setting
Oceanwp Breadcrumbs, 404 header and Search results header title options are here.
General Options > Page Title
Scroll to Breadcrumbs section.
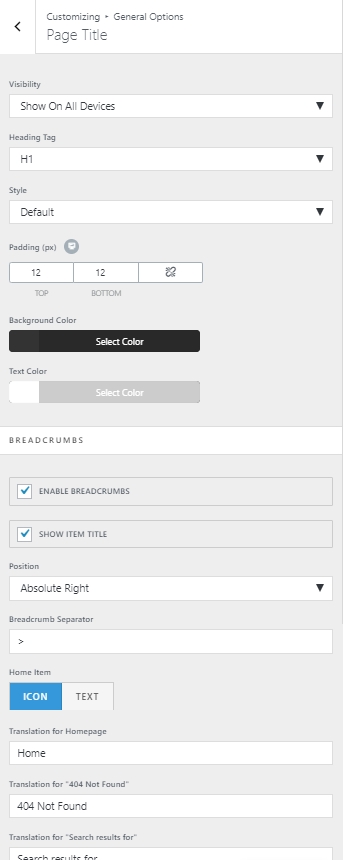
Hide OceanWP Breadcrumbs Home Icon and Spacer
To get rid of the breadcrumbs Home icon and > spacer. Add this in the custom CSS section in the customizer.
.icon-home {display:none;}
.breadcrumb-sep {display:none;}
OceanWP Title Settings Quick Tips
Quick pointers to Oceanwp’s Page Titles at the top of each page settings for background image etc.
TITLE FONTS
Page Title at top of page, font settings.
Customizer > Typography > Page Title
The Customizer > Typography > H1 setting does not affect font family on page title.
PAGE TITLE BACKGROUND IMAGE AND BACKGROUND BANNER HEIGHT
General Options > Page Title
Style:Background Image
Image: position, repeat, size, height, overlay opacity and color,
(this only seems to work for new pages from a fresh install, doesn’t work for imported sites from old Oceanwp sites)
To adjust height of the title background; go to Padding and change the padding top and bottom. Can be adjustable for desktop and mobile.
Show or hide on Devices.
HIDE BREADCRUMBS OR TITLE NAME
Customizer > General Options > Page Title
Scroll down to Breadcrumbs and make changes. Set page title style to hidden.
Changing Top Menu Color Settings
To change the Header menu color settings.
Customizer > Header > Menu
The Main Styling section controls the colors for the very top of the menu buttons.
The Dropdown Styling section controls colors for dropdowns only.
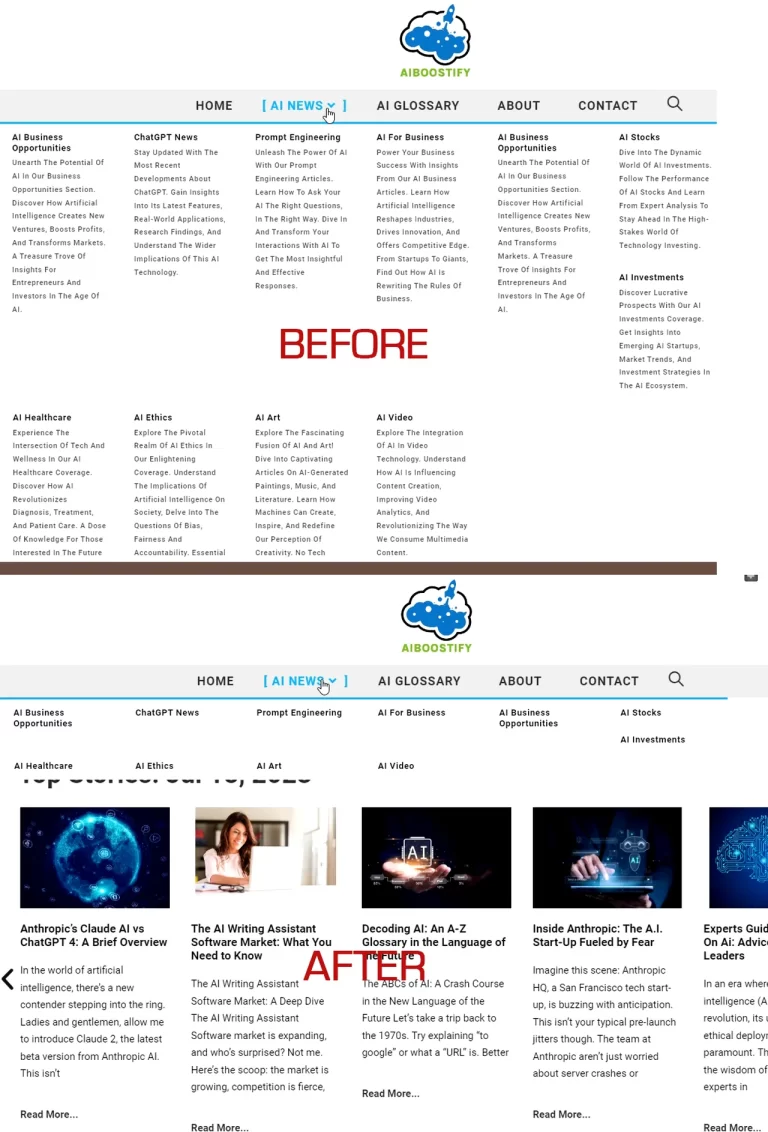
Changing Header Menu Styles
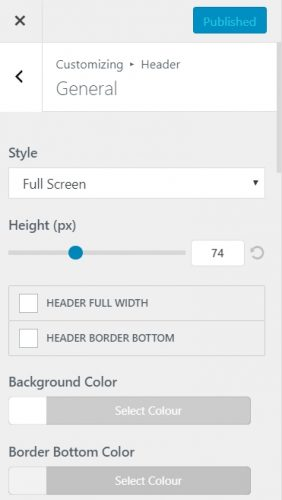
OceanWP has some default menu stylings built into the header and demo themes typically use one of these as defaults. Unfortunately, it’s not available in the obvious Menu setting but in Header > General > Style setting.
To change header menu styling, you may need to set the style in Header > General > Style.
Menu Options:
Minimal:white background with horizontal menu, social icons top right corner
In Minimal Style: To adjust top padding of menu adjust Header/General/Height (px)
Transparent:transparent bg, menu horizontal, social icons top right corner
Top Menu:white bg, menu at the very top with Logo above or below
Full Screen:logo left, hamburger menu on right
Center:white bg, center text menu and logo
Medium:white bg, search box top left, logo, social icons all on top. Second row is menu in light grey.
Vertical is a hamburger slider bar on left or right.
Custome Header:set in OceanWP library
FOR DROPDOWN MENU STYLING
You can style your menu dropdown in the customizer section.
Go to Customize > Header > Menu > Dropdown Styling and set background color with transparency.
For the font setting, go to Customize > Typography > Main menu – Dropdown
TO CUSTOMIZE MENU SOCIAL ICONS & URLS
Customizer > Header > Social Menu
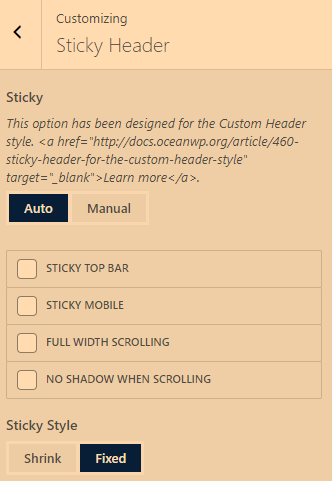
TO PREVENT TOP MENU HEADER FROM SHRINKING WHEN SCROLLING
This is due to the theme set to Minimal and with the Sticky Header Oceanwp extension installed. Change the setting by going to the WordPress Customizer > Sticky Header (bottom of Customizer list?). Under Sticky Style: choose Fixed.
Layout & Design
Hide OceanWP Clock Icon and Date Stamp In Related Posts In Single Blog Posts
Add this piece of css in Custom CSS/JS to hide the clock icon and date stamp in the Related Posts block underneath single blog posts setting. Customizer > Blog > Single Post
/* hide date time in related posts on bottom of posts */
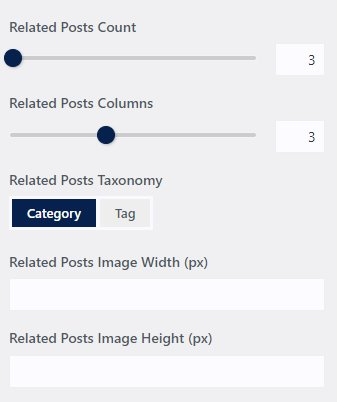
.related-post time.published {display:none;}SET OCEANWP RELATED POSTS COUNT & COLUMNS
Hide Sidebar Grey Divider In OceanWP
Do you want to hide the grey divider between the sidebar and content section in many OceanWP themes? The color settings are in: Customizer > General Options > General Styling: Primary Color.
Add this css in the WordPress Customizer: Custom CSS/JS
#primary {
border: none;
}
How To Turn Off Related Posts in OceanWP
There are 2 settings to check. First, if you have Jetpack installed, be sure to turn it off here.
Jetpack > Settings > Traffic > Related posts
PS. Jetpack Sitemaps are also here.
Jetpack > Settings > Traffic > Sitemaps
Second, to turn off Related Posts at the bottom of blog posts in OceanWP, go to WordPress Customizer > Blog > Single Post > Elements Positioning > Related Posts
TO TURN OFF THE TIME STAMPS ON OCEANWP RELATED POSTS ADD THIS IN CSS/JS
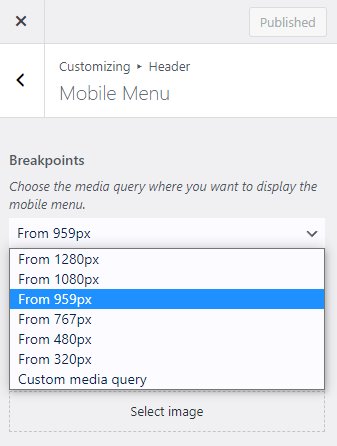
time.published {display:none}Setting OceanWP Responsive Breakpoints
Customizer: Header > Mobile Menu > Breakpoints
If your chosen breakpoint isn’t in the dropdown, choose “Custom media query” and enter the pixel value in the Custom Media Query field.
What Is The OceanWP Page Separate Layout?
OceanWP’s page layout section is located here in the Customizer.
WP admin dashboard > Appearance > Customize > General Options > General Settings > Layout Style
Full width and boxed layout is pretty much self explanatory but OceanWP has a layout option called Separate that isn’t described in the documention.
In short the Separate layout makes your content boxed but your header/footer are full width. Hope that saves you minutes of Googling.
Fixing OceanWP Logo Problem In Firefox Browser
I discovered this problem only on Firefox, where the logo in the header shows at the full high resolution size required for retina or 4K screens. So for instance if your regular logo is 150px and you have a 300px logo for high res screens, Firefox will display the larger logo, breaking your menu and ruining your design.
I found out this only happens on certain screen sizes, in my case it was a 1600 x 900px Lenovo laptop. To get around the problem, be sure to set the logo size manually in the Customizer > Header > Logo Retina Logo.
Hiding Duplicate Titles in OceanWP
Ever had a problem with OceanWP and custom post types duplicating the title in the body?
Use this in the Customizer’s Custom CSS/JS to hide the bottom title.
.single .entry-title {display:none}Styling & Colors
Change .ICO In OceanWP or For Any WordPress Theme
You can add a favicon or site icon from the WordPress Customizer to change the tiny icon that appears in browser tabs.
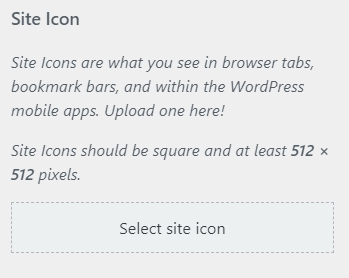
Go to Appearance > Customize and click on the ‘Site Identity’ tab. Images must be square and at least 512px X 512px. File formats can be gif, jpg or png and be uploaded from your WordPress media library.
Change Background Color in OceanWP Mobile Menu Hover
Are you not able to change the background color in OceanWP mobile menu’s hover in the customizer UI? Insert this piece of CSS in the Custom CSS section instead.
#mobile-dropdown ul li a:hover {
    background-color: #ff0005;
}
Change Icon Size In Elementor Toggle
Here’s How To increase the icon size within the Elementor toggle widget items.
The Elementor Toggle and Accordion widgets are very useful for displaying large amounts of information without over cluttering your page. However, the default size of the icons may not be to your liking. Here’s how to change their size.
Cut and paste this into the WordPress Customizer > Custom CSS. Change the icon size by adjust the font size. This will be global changes and affect all elementor toggles on the site. To change it for just one toggle widget, go to the widget’s Advanced tab and paste into it’s Custom CSS field.
.elementor-toggle .elementor-tab-title.elementor-active .elementor-toggle-icon-opened {
    display: block;
    font-size: 20px;
}

.elementor-toggle .elementor-tab-title .elementor-toggle-icon .elementor-toggle-icon-closed {
    display: block;
    font-size: 20px;
}
Similarly, here’s how to increase the icon size within the Elementor accordion widget.
.elementor-accordion-item .elementor-accordion-icon {
    font-size: 20px;
}
Change OceanWP Color and Fonts In Blog Post Metas
Edit and add this piece of CSS to OceanWP’s Custom CSS/JS section in the WordPress Customizer. Edit the color in this code. You can also add font family here as well.
/* Single Blog Post Metadata Font Size and Colors */
.single-post ul.meta {
font-size: 16px;
	color: #F3EAC7;}
	.single-post ul.meta li a {
color: #F3EAC7;
}
.single-post ul.meta li i {
color: #F3EAC7;
}
/* Blog Archive Page Metadata Font Colors */
.blog-entry.post ul.meta  {color:#F3EAC7;}

.blog-entry.post ul.meta li a {color:#F3EAC7;}
Changing The Background Color Of A Single Page
Get the Page ID from WordPress. This only affects pages. The whole background will be set to this color so you may have to change the font color. Put this in the Customizer > Custom CSS/JS section.
body.page-id-464
{ background-image: none; }
This will make the background black.
To change to another color, add something like background-color:#FF0000;
Changing WordPress Description Colors in OceanWp
After going through all the settings in the OceanWp Customizer I wasn’t able to find the color settings for the Theme description.
It turns out you need to edit the Custom CSS/JS section by adding the following code.
#site-header.top-header #site-logo #site-description h2 {
color: #ffffff;}
Changing WordPress Site Title Text Color in OceanWp
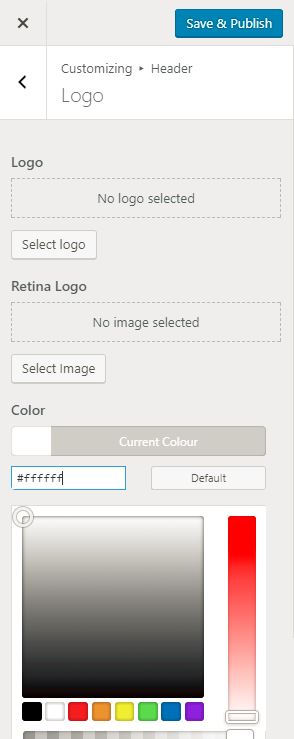
If you are not using a logo on your WordPress theme and just have text for the site title or sitename, here is where you can change the site name color in the OceanWP theme.
In the OceanWp Customizer (WordPress’s Appearance/Customize) go to Header > Logo section and scroll down to the Color setting and use the color picker or type in your hex value. This will change the text color in the header.
Edit Spacing Above and Below Page and Post Titles In OceanWP
So you want to change the spacing above or below a post’s title. Where does OceanWP hide the settings?
See below. (Customizer > General Options > Page Title) Adjust the padding.

Getting Rid of the Credits Link in OceanWP
On some of the OceanWP demo themes, even the pro ones there may be dead links to spammy sites. To get rid of the credits link…
Go to WordPress’ Appearance > Menus and look for Footer Menu. Delete the credits link or add your own links. If you do not want to display the menu at all you can uncheck Footer in Menu Settings/Display Location.
Alternatively, in the OceanWP Customizer > Menu just turn off Footer checkbox.
PS. If you are trying to center the footer copyright across the whole width of the page, displaying the footer menu will not allow you to do that. To center the copyright menu switch off the footer menu first.
Automating and Customizing The Footer Copyright Years In OceanWP
OceanWP allows you to automatically update the copyright year to the most current year. You do not need to update it every year or use php. You can even set a year range ie. “Copyright 2005 – 2022” where 2022 automatically updates every year.
In the Customizer > Footer Bottom. You can use this shortcode to display latest year.
2026
To display a year range that will display 2005 – 2022. Use the following code. Change the starting year to whatever you want and forget about ever updating the footer years again.
[oceanwp_date year="2005"]Here is an example of the code used for this site in the copyright footer.
Copyright [oceanwp_date year="2005"] <a href="https://crankymedia.com" target="_blank">OceanWP & Elementor Pro Tips</a>OceanWP Footer Copyright Font Styling
To change the font style in the footer copyright section, do this. The editing section isn’t in the Customizer’s Footer Bottom section.
To change font, style, weight and case style go to:
Customizer >Typography > Footer Copyright
Site Wide Link Colors In OceanWP
Page Content Body Text Color: Typography> Body > Font Color
Link Colors for Whole Site:
General Options > General Styling > Links Color
To set a global site link color across both Elementor and OceanWP. This will change every link color on the site.
In WordPress Customizer > Custom CSS/JS
a { color: #00EEEE; } a:visited { color: #551A8B; }Adding Underline Links On Hover in OceanWP
Looking to add underline when hovering over a link in just the body content of a post? Sometimes you want links in your posts to stand out a bit more from the rest of the theme and subtly encourage users to click. OceanWP doesn’t have a setting for that. After trying a bunch of css variations this is the one that works for me. Go to Appearance > Customize > Custom CSS/JS and add this piece of css.
body.single-post .entry-content a:hover {
 text-decoration: underline;
 }
For pages including home page:
.single-page-article a {text-decoration:underline;}To set the majority of site link colors in OceanWP Customizer > General Options > General Styling
Here is an example Elementor link customization in CSS/JS.
h3.elementor-image-box-title a {text-decoration:none}For underline links on your blog posts listing page and archives use this.
.blog-entry-summary a:link {text-decoration:underline}OceanWP and Woocommerce Settings
OceanWP Woocommerce Color Settings
Some common OceanWP settings for Woocommerce buttons for product and archive pages.
OceanWP Woocommerce general button colors.
Go to General Options > Theme Buttons
To Change Colors of Related Products :Add to Cart button; at bottom of individual products pages.
Woocommerce > Advanced Styling
Scroll to Product Entry: Add To Cart
Woocommerce Description Tab colors on Product Pages
Woocommerce > Advanced Styling
Scroll to Single Product: Tabs (last 1/3 of scroll)
If You Encounter Elementor Error when Editing
Make sure to turn shop page to draft, or change shop page temporarily to another page in Woocommerce. Edit in Elementor, then change page back to main store page or even try leaving that setting blank. Woocommerce > Products > Shop page.
Hiding Woocommerce Description Tabs In OceanWP
Are you building a simple Woocommerce store using OceanWP? I have a simple store where I just want the short description area on top without the Description, Additional Information and Reviews tabs.
The easiest way to do that is to hide those sections using a bit of css.
In WordPress go to Appearance > Customize > Custom CSS/JS and add this piece of css.
.woocommerce div.product .woocommerce-tabs {
display: none;
}
OceanWP Widgets Settings
Centering An OceanWP Footer Widget Examples
CENTERING OCEANWP FOOTER WIDGETS
Icons in widget may not align.
Centering Social Icons
Put this in Customizer > Custom CSS/JS
#footer {
text-align: center;
}
#footer .owp-social-share li {
float: none;
display: inline-block;
}
#footer-widgets .footer-box .widget-title {
border: 0;
padding: 0;
}
Centering Contact Info Widget
#footer {
text-align: center;
}
#footer .widget-oceanwp-contact-info li {
float: none;
display: inline-block;
}
#footer-widgets .footer-box .widget-title {
border: 0;
padding: 0;
}

Change border color of contact icons.
#footer-widgets .contact-info-widget i
{border-color:#000}
Changing The Footer Widget Background Color In OceanWP
Have you ever wanted to change the background color from that drab dark grey in the OceanWP footer widget section? It’s easy. Just add this css in the Customizer’s Custom CSS/JS editor and change the color to your preference.
#footer-widgets {background-color:#FF0000;}Editing OceanWP Footer Widget Button Link Colors
I created a custom footer template in OceanWP using Elementor. I ran into this problem when Elementor Pro was not able to over ride some of the link colors in OceanWP’s footer widgets.
PS. You can disable your theme’s ability to override Elementor Pro’s colors by going to Elementor/Settings. Disable Default Colors, Disable Default Fonts.
Adding to the problem was a button created in Elementor Pro that had a hover color.
To lock in the colors add this to the Customizer’s Custom CSS/JS.
/* Footer Link Colors */
#footer-widgets a {color:#FA9100}
#footer-widgets a.button {color:#282828}
#footer-widgets a.button:hover {color:#282828}
Miscellaneous OceanWP Settings Tips
How To Add Google Analytics or Google Tag Manager In Your OceanWP Site
Updated: 2022
This is just for historical reference. OceanWP uses their library templates to set hooks via the new OceanWP > My Library section. Instead of putting the Google Analytics in the Head hook, I recommend the Google Site Kit plugin which you can use to connect Google Analytics, Search Console, Tag Manager, Page Speed and other services right from the plugin.
While there are numerous Google Analytics and Google Tag Manager plugins for WordPress, there is a simple way to add the Google analytics or tag manager code right within OceanWP with Ocean Hooks.
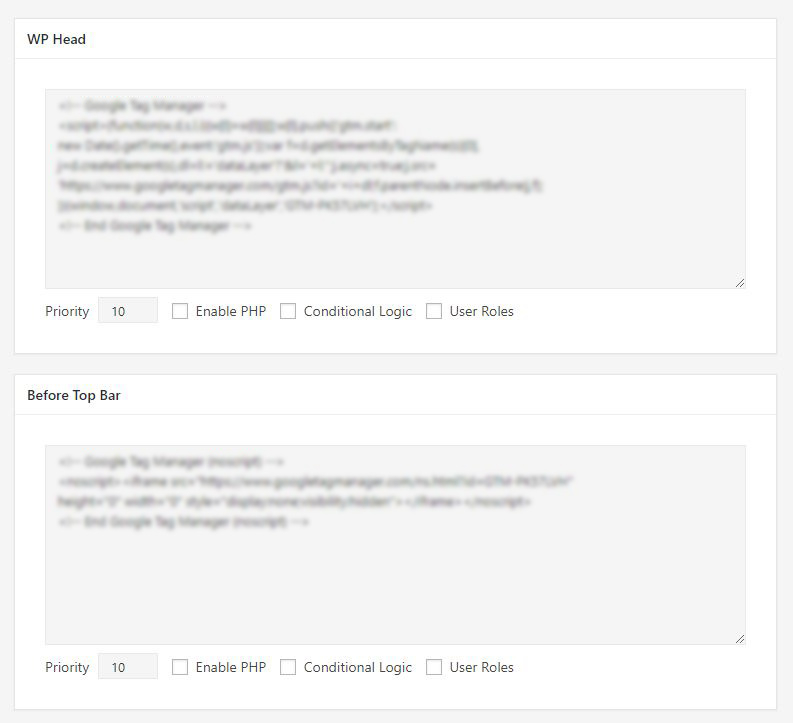
This example is for Google Tag Manager but Analytics first code segment goes in WP Head and because the segment should be at the top of <body> Before Top Bar is where the second code piece goes.
You can use the same method for other themes that support hooks like Genesis, Astra, Generatepress and others.
Go to OceanWP in WordPress navigation, My Library and create a new library item called something like “Google-Analytics”. Then add the Google code. Scroll to the OceanWP Settings at the bottom of the page choose Hooks and under Activate Hook? choose Enable. Under location enter the location where the code is to go. WP Head is typically where it should go.
Find OceanWP Changelog Page
https://docs.oceanwp.org/article/653-oceanwp-theme-changelog
